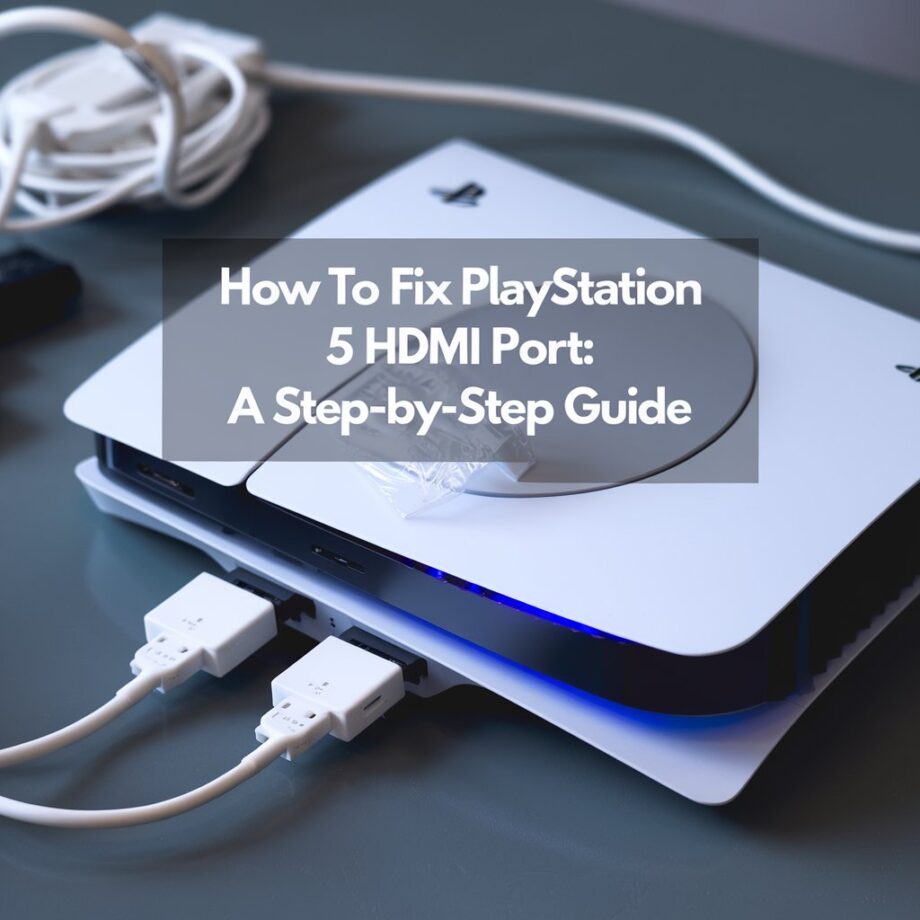
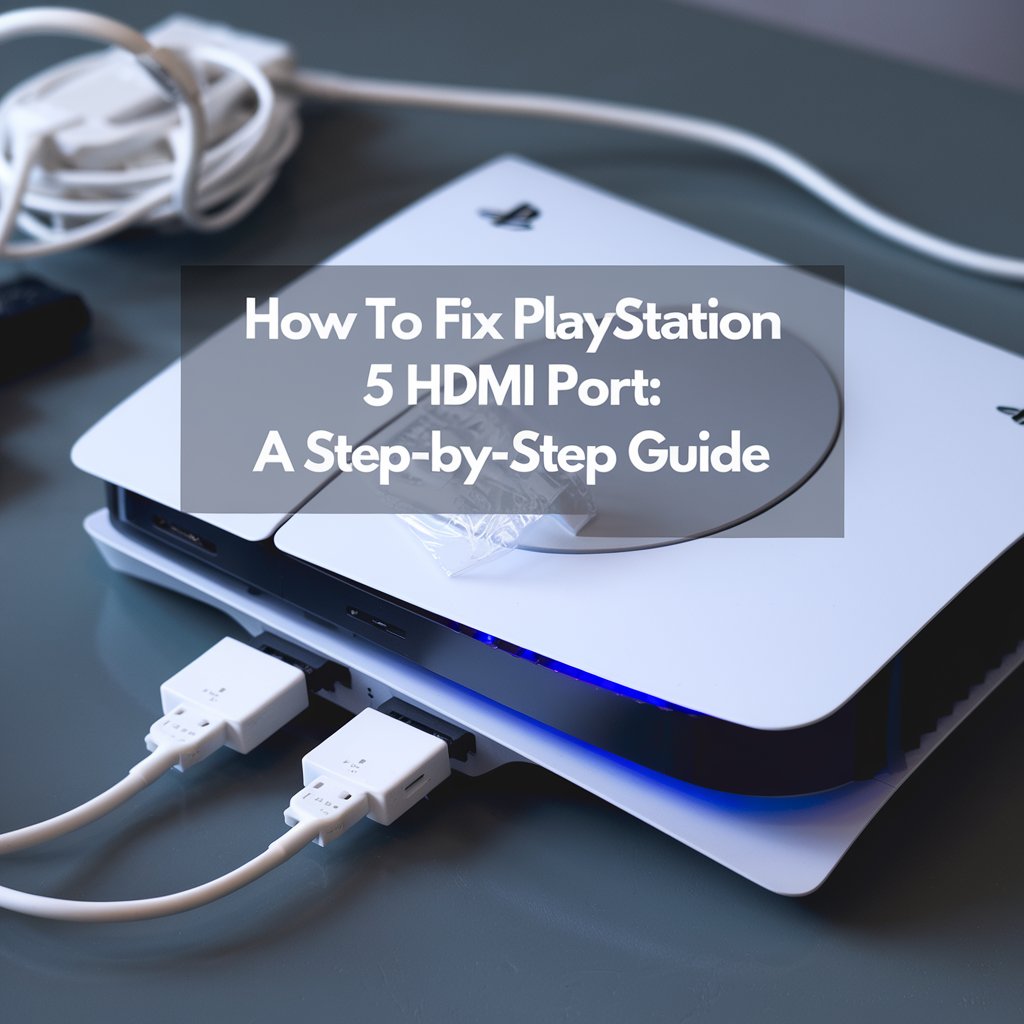
How to Fix PlayStation 5 HDMI Port: A Step-by-Step Guide
The PlayStation 5 (PS5) is a powerhouse of gaming technology, but like any electronic device, it can encounter issues. One of the most common problems users face is a malfunctioning HDMI port. If your PS5 isn’t displaying any video or audio, the HDMI port might be the culprit. In this guide, we’ll walk you through how to fix the PlayStation 5 HDMI port, ensuring your gaming experience is back on track.
Signs of a Faulty PS5 HDMI Port
Before diving into repairs, it’s essential to confirm that the HDMI port is the issue. Here are some common signs:
- No Display on TV or Monitor: Your screen remains blank even when the PS5 is powered on.
- Flickering or Distorted Screen: The display cuts in and out or shows distorted visuals.
- No Audio Output: Sound is missing despite the PS5 being connected.
- Physical Damage: Visible bent, broken, or loose pins inside the HDMI port.
If you’re experiencing any of these issues, it’s time to inspect and potentially fix the HDMI port.
Tools You’ll Need
Before starting the repair process, gather the following tools:
- Precision screwdriver set
- Plastic prying tools (to avoid scratching the console)
- Tweezers
- Soldering iron (if the port needs replacement)
- Replacement HDMI port (compatible with PS5)
- Anti-static wrist strap (to prevent static damage)
Step-by-Step Guide to Fix the PS5 HDMI Port
Step 1: Power Down and Unplug Your PS5
Ensure your console is completely powered off and unplugged from the power source. This step is crucial to avoid electrical damage or injury.
Step 2: Remove the PS5 Covers
Use a plastic prying tool to gently remove the side panels of the PS5. Start from the bottom corner and work your way around. Be careful not to apply too much force to avoid breaking the clips.
Step 3: Disassemble the PS5
- Remove the screws securing the outer shell using a precision screwdriver.
- Carefully detach the fan and power supply unit to access the internal components.
- Locate the HDMI port on the motherboard.
Step 4: Inspect the HDMI Port
Examine the HDMI port for any visible damage, such as bent pins, debris, or loose connections. If the port is damaged, it will need to be replaced.
Step 5: Replace the HDMI Port
- Use a soldering iron to carefully desolder the damaged HDMI port from the motherboard.
- Clean the area with isopropyl alcohol to remove any residual solder.
- Solder the new HDMI port in place, ensuring it’s securely attached and aligned correctly.
Step 6: Reassemble the PS5
Once the new HDMI port is installed, reassemble your PS5 in the reverse order of disassembly. Make sure all screws are tightened and components are properly connected.
Step 7: Test the Console
Plug your PS5 back into your TV or monitor using an HDMI cable. Power it on and check if the display and audio are working correctly.
Tips to Prevent HDMI Port Damage
- Handle the HDMI Cable Gently: Avoid yanking or bending the cable when connecting or disconnecting it.
- Use a High-Quality HDMI Cable: Cheap cables can cause connection issues and damage the port over time.
- Keep the Console Stable: Ensure your PS5 is placed in a secure location to prevent accidental tugs on the HDMI cable.
When to Seek Professional Help
If you’re uncomfortable with disassembling your PS5 or soldering, it’s best to seek professional repair services. At ShipToFix.com, we specialize in fixing gaming consoles, including PS5 HDMI port repairs. Our expert technicians use high-quality parts and tools to ensure your console is restored to its optimal condition.
Conclusion
A faulty HDMI port can be frustrating, but with the right tools and guidance, you can fix it yourself or rely on professionals for assistance. By following this step-by-step guide, you can save time and money while getting back to your gaming adventures.
If you’re unsure about tackling this repair on your own, visit ShipToFix.com for reliable and efficient PS5 repair services. We’re here to help you get your console back in action!